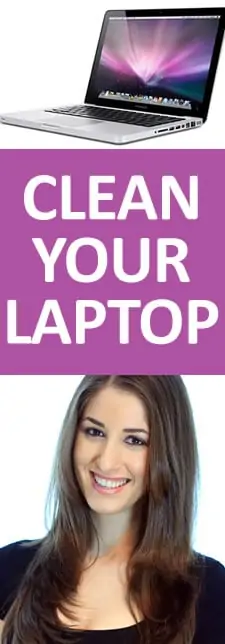
Looking for the quickest, easiest way to clean your MacBook or PC laptop? Well, Melissa Maker can help!
In this episode of Electronics Cleaning Essentials, we learn how to clean your laptop including the screen, body, ports and even disinfect the keys. We use a Macbook and a Dell laptop in this cleaning video.
We’ve looked at the manufacturer’s instructions to determine the safest and most effective way to clean a laptop and this is how it’s done.
Look no further if you need more articles on cleaning gadgets and electronics!
Make sure to check your manufacturer’s instructions as well.
You use your laptop daily; you eat with it, watch TV with it, use it when you are healthy or sick in bed. We’ve all seen the fingerprints, dust, streaks, black marks (which is a build-up of bacteria, BTW) and crumbs lodged in tight spaces etc. The bottom line is that laptops get pretty dirty and need to be cleaned.
Items you’ll need:
- Rubbing alcohol and water (50/50 mix)
- Cotton swabs
- A cleaning toothbrush
- Compressed air
- Water
- An optical cloth
Start by unplugging the laptop and turning it off.
- Take the cleaning toothbrush (dry) to brush out any debris stuck between the keys, grooves, and even small speakers. Start at the top and work your way down so that you don’t re-distribute the debris. Poise it on an angle if you can, that way the dirt falls down easier and won’t re-settle in the laptop.
- Next, take your compressed air and blast out any stuck debris from the keys, track pad and speaker areas. Move over and quickly blast any dust out of the ports as well. It is important to not shake compressed air. Use the can in short, deliberate blasts (i.e. don’t hold the trigger for a long time). Be sure to hold it upright, not on an angle. When the bottle gets very cold, let it rest for a few moments.
- Once that’s done, lightly mist one quarter of the cloth with water/rubbing alcohol mix and tap the wet side on the back of your hand to remove any excess moisture. A dripping cloth used to clean your laptop would let moisture into the circuit board and effectively ruin your laptop (not a good idea).
- Wipe the damp side along the top keys of the keyboard and work your way down, in an ‘s’ pattern, using a little more pressure to get the tougher debris out. Remove any hardened on spots on keys or between keys by gently working the cloth in a circular motion. You won’t need to dry it since rubbing alcohol dries very quickly and you won’t be using much moisture anyway.
- Now, flip the optical cloth onto a dry quarter and lightly mist it with water. Tap it off on the back of your hand to remove excess moisture. Starting at the top left of the screen, gently wipe the screen clean working your way across the top and then down using that ‘s‘ pattern again. Buff out any streaks with a dry corner of the cloth (that’s why we fold it in quarters). Don’t press too hard! Close the laptop and wipe the exterior with the dampened cloth. You’ll notice streaks and fingerprints tend to come right off with this very simple technique. Buff out any stubborn marks with your finger wrapped in the cloth.
- Finally, use a cotton swab lightly misted with the 50/50 mix to get in between any crevices and keys you were not able to reach with the cloth and gently wipe away any grime.
As part of our Electronics Cleaning Essentials, we’ll show you the proper, basic way to clean and maintain a laptop. Please note: this video does not go in to complex cleaning issues – if you have a specific question that was not answered in the video, please leave us a comment and we’ll provide you with a more specific answer.
Thanks for checking it out!
See our E-Book Bundle to take your cleaning game to the next level! It gives you our top 3 e-books (Melissa Maker’s 3 Wave Cleaning System, 50 DIY Cleaning Recipes, The Complete Guide to Essential Oils) and will give you the perfect start to a fresher and cleaner home!
Looking for a BETTER & EASIER Way to Clean Your Home?
Cleaning Expert Melissa Maker is here to help with her game-changing 3 Wave Cleaning System that will help you clean your house faster and easier than you ever thought possible!


